Creating a textured material is almost the same as creating a simple material, except you click on Texture under the new menu, instead of simple.
Once the material properties window opens you will notice that you have the same three pages as the simple material, however there are two additional pages.
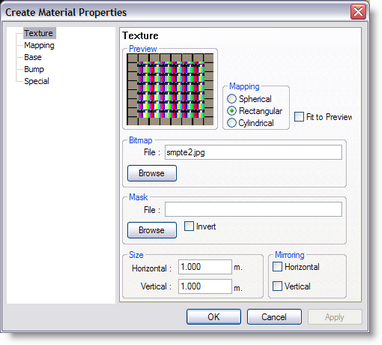
Mapping Spherical, Rectangular and cylindrical.
Here you can select how the bitmap will be 'pasted' on the object. If you select 'Spherical' or 'Cylindrical' the bitmap will be wrapped around the object.
If you select 'Rectangular' the bitmap will be pasted on the front of the object. If you select a mapping mode, some options in this dialog will change
Fit to Preview: Option only available to 'Rectangular' and 'Cylindrical' mapped textures.
This option changes only the preview, when you activate this option; the size of the texture will be ignored when the preview is calculated. Instead of the size you entered, the size will be scaled to fit the cube / cylinder in the preview exactly.
Bitmap In the 'Bitmap' section below the preview you can select the bitmap that is used for the texture. The name can be typed in or selected from a list by clicking on the 'Browse' button.
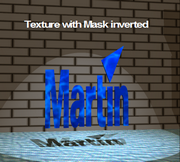
| Mask | If you find a picture and use it in this section, any white or light colored areas will become transparent. It converts your picture into a greyscale image, anything between white and 50% grey becomes transparent and anything about 50% to black remains solid. The invert button swaps this around. |
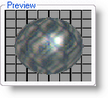
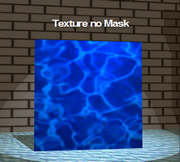
Here some examples using
this texture 
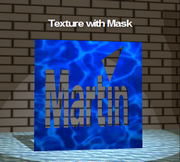
and a mask 
Normal Mask
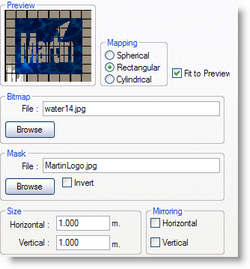
Inverted Mask
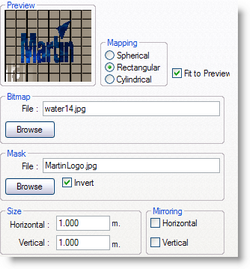
Size Below the 'Mask' area you can see a box called 'Size'. This is where the 'Spherical', 'Rectangular' and 'Cylindrical' modes differ:
| • | Spherical |
The horizontal number indicates the number of times the bitmap is repeated from the back of the object around the front to the back of the object again. The vertical number indicates the repetition count from top to bottom.
| • | Rectangular |
The horizontal number indicates the horizontal size of the bitmap (the size of the object that the bitmap represents). The vertical number indicates the vertical size.
| • | Cylindrical |
The horizontal number indicates the number of times the bitmap is repeated from the back of the object around the front to the back of the object again. The vertical number indicates the vertical size.
Mirroring When you have multiple pictures applied to your texture you can make it mirror the images. I.e. every other image will be reversed, see mirroring below.
Scale Is another way of putting multiple pictures into one texture. For example, 0.5 will split your surface in half and put 2 pictures on it side by side. 0.25 will split it into 4.
Offset Controls how far into your surface the picture starts
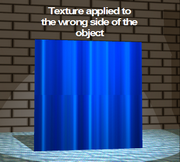
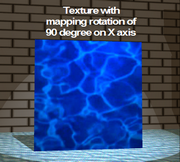
Rotation Can make your picture rotate to different angles. If a texture shows on the wrong surface of an object, try rotating the X axis by 90 degree
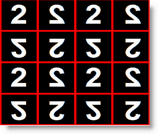
This example shows you the effect of using mirroring on a texture, this is the bitmap that is to be the base for the texture:
![]()
Now it is set up to repeat the image several times across the texture:
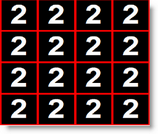
Now Horizontal Mirroring is switched on:
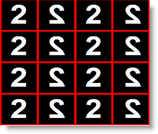
Now the Vertical Mirroring is switched on as well: