Now that we have the objects in our scene, it is time to add some fixtures. Adding fixtures is basically the same as adding objects. Just drag the fixtures from the 'Library Content' section drop them into the graphics area.
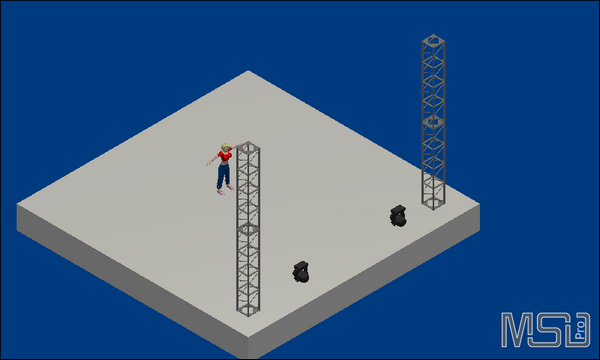
We will start by adding two Martin MAC Encore Performance WRM fixtures that we are going to place on top of the truss towers. Open the 'Fixtures' list in the 'Library Content' section and drag the fixture onto the floor. If you are still using the isometric camera settings you may notice that when you drop the fixture, it will be placed on top of the first object as seen from above. The isometric views all work like the top view in that regard.

Isometric SW view after fixure insertion
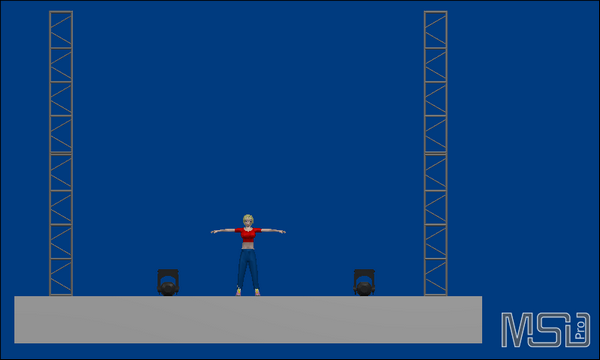
When you have placed two TW1 fixtures in the scene, we can put them on top of the towers. We are going to do this with the move operations. Switch to a front view ('Camera | 2D | Front') and make sure the complete scene is visible ('Camera | Full View').

Front view after Fixture insertion
As you can see, the fixtures are hanging, so we need to rotate them 180 degrees around the Z axis (or X axis), so they will be standing. Use the Rotation property to rotate the fixtures. When you have rotated the fixtures you can place them on top of the towers.
Select the Move XY operation from the menu ('Operations | Move | Move XY'). This allows you to move objects and fixture horizontally and vertically in the scene area. Because we are using the front view, we can use the operation to move the fixtures along the X and Y axes. When the operation is active, you can click on a fixture and, while holding down the left mouse button, drag the fixture to to top of one of the towers. While you have the complete scene in view, you can only place the fixtures approximately on top of the towers. To place the fixtures more accurate we need to zoom in onto the top of the towers. First use the full view camera operation to see the complete scene, this will make the complete fixture visible instead of just the bottom part. Now we are going to zoom in using the rectangle zoom operations.
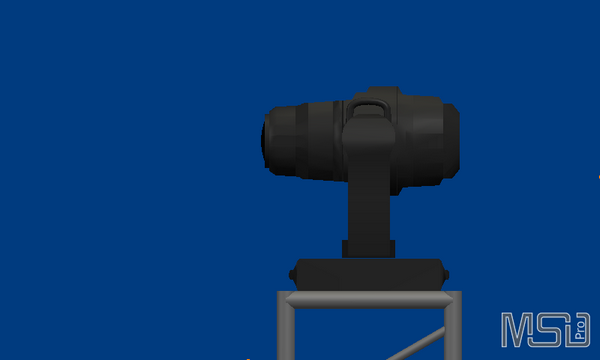
We are going to drag a rectangle around the area we want to view while holding down the right mouse button. To do this, you just move the mouse to the top left corner of the area you want to view, push the right mouse button down and hold it down, move the mouse to the lower right corner of the area and then release the right mouse button. The following image shows the scene area after the rectangle zoom.

Zoom view of Tower top
You can now continue the move operation to refine the fixture position. When you are finished with this fixture you can refine the other one. When you are done, we have placed both fixtures in the correct X and Y position, but because we are working in a front view, we can not check the Z position. Probably these need to be changed as well, otherwise the fixtures are not on top of the towers. Switch back to the top view and use the camera full view operation to see the complete scene. Now check the vertical position of the fixtures against the two towers. If the fixtures are not located on top of the towers you can now adjust them. You can use the 'Move XY' operation to do this, but you could also use the 'Move Y' operation, so only the Z position of the fixtures are changed. Use the 'Full View' and 'Rectangle Zoom' operations to refine the fixture positions until you are satisfied with their positions.
Finally we are going to place the video panel in the scene. We want to have this video panel at the back of the floor roughly centered from left to right and a couple of meters from the floor.
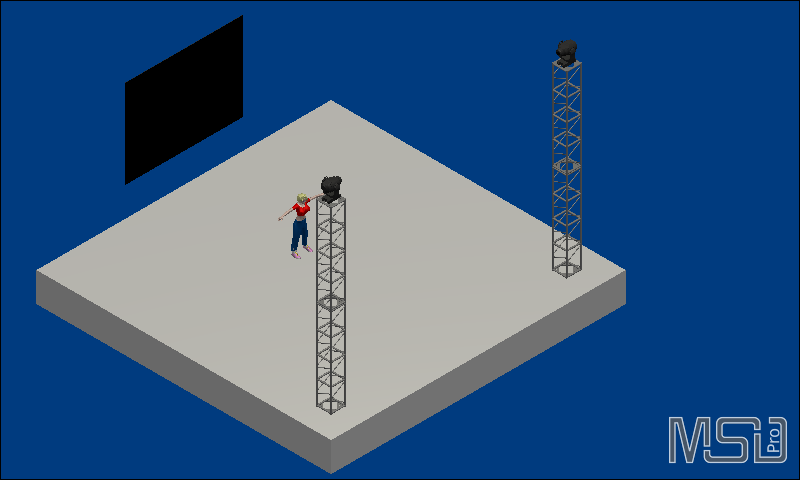
The easiest way to accomplish all this is by using one of the side 2D cameras. So either select the left or right 2D camera. Now drag the video panel to a point a few meters above the back of the stage. You should now have a scene that looks something like this.

Scene after Fixture placement