To do a quick rendering
| • | Select your 3D window. |
| • | Adjust your camera settings so you have a good view of your stage |
| • | Click on the Trace Shadow button |
Now wait and watch your scene come to life. You will see a percentage count up in the top of you window, indicating how far it has got.
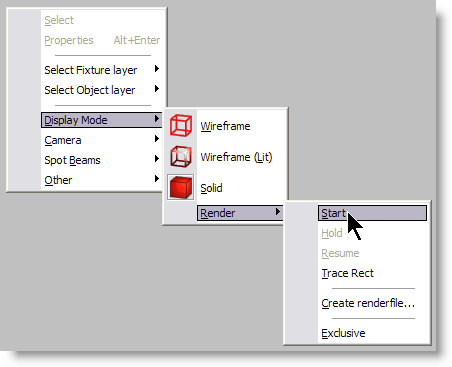
It's also possible to render a scene with different settings. To do this right click in a 3D view, then Display Mode > Render > Start


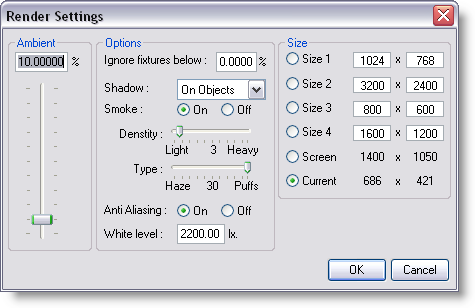
See this topics for the render options settings
Rendering can be done in different size. The higher the size (resolution the longer it takes)
Example, a 1600 X 1200 rendering will take 4 times the time for a 800 X 600 rendering.

Another consideration is the screen ratio use to set the camera view in MSD can be different then a screen ratio of the chosen size.
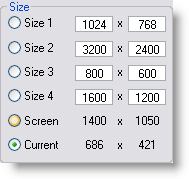
A way to know the current ratio is too look at the "Current" size
Example on the above screenshot, the current size of the 3D MSD window was 686 X 421 = a ratio of 1.63 (868 divided by 421)
In order to get the same ratio at 1600 X 1200, it should be set to 1600 X 982 (1600 divided by 1.63)
Start
The start option will start the rendering of the scene.
Hold
The Hold option will temporarily stop rendering the window. This might be useful if you are rendering a complex scene. By setting the rendering on hold, you get more time to do other things (in this application or another). This option is only available if you are currently rendering in the window.
Resume
The Resume option will resume rendering a window, which was previously stopped by using the Hold option. This option is only available if the window is currently in a 'hold rendering' mode.
Trace Rect
The Trace Rect option is a special case of the Start option which allows you to first select/manipulate a rectangle within the window, and then right-click in the window to start rendering the rectangle.
Create Render file
Use this to create a render for the Fast NetRender