A group is multiple objects combined together to create a single object to manipulate.
Once group, objects within a group can't be single pick.
Here's how to group objects
| • | Select multiple objects |
| • | Now press the Group button. |
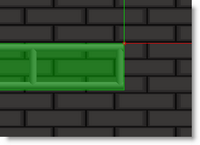
You have now grouped the two pieces into one object.
It is also possible to group objects with an alternative axis.
What does that mean?
By default if you group two objects with different rotation together it would look like this:
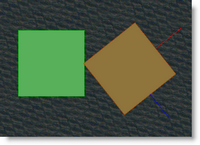
Note that the angled cube is picked but the final axis for the group is the default system axis.
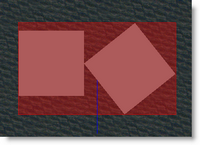
Using the Axis Group (ALT+G) or ![]() the result would be like this:
the result would be like this:
As you can see the axis is now the cube that was picked before grouping.
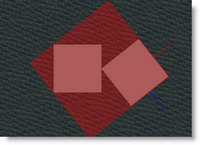
Another use of the Group axis is to change the rotation axis of an object.
By default to rotation axis of an object depend where the 0,0,0 point was when it was created in the Modeler.
If you need to change that, you can combine a small object (almost none visible) to a bigger object and use that small object as axis.
Example
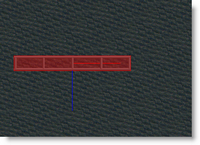
This piece of truss as it's default axis to the center of all axis.
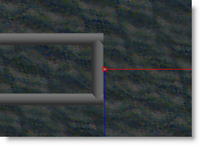

Add a small cube and position it where you want to the axis to be.

Select the Truss and then the cube (must be red), and press the Group Axis icon or ALT+G.
To group fixtures and object together while leaving each fixtures accessible as single pick, see Assembly