Instruction on how to use the MSD Fast NetRender Server
-Open a scene file
-From a 3D window, chose or set a camera view as desired
-Right-click and browse to Display mode / Render / Create Render File

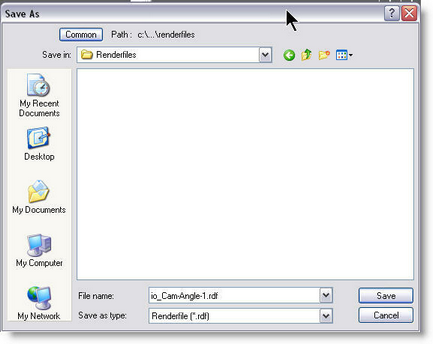
-A window will open and a suggest file name will be in the "File Name" field
-By default it will be the "Scene name_CameraName.rdf"
-The name can be changed as desired
-Then press save
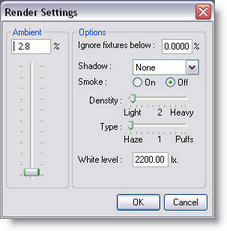
-Another window control will appear, in there change the rendering settings
Ambient:
Set the ambient level of the surrounding light (ambient light does not cast shadow)
Ignore fixture Below:
If there are several fixtures set at very lo level (1 to 5% for example) setting this value at 5% will simply ignore all these fixtures.
Shadow:
[None]: No Shadow are cast (Fastest)
[On Objects]: Shadow is cast on objects, but smoke rays are not cut by objects (normal)
[Always]: Shadow as cast and smoke rays are stop by objects (slowest)
Smoke: Set the smoke effect on or off
[Smoke Density]: How thick the smoke effect will be (a setting of 3 or 4 usually makes nice and natural effect)
[Type]: How does the smoke look like... 1 is even haze and 30 is really puffy Cloud-like smoke
White Level:
Imagine the White level as the eyes sensitivity. It could be explained as the amount of light require to have a white surface looking white...
The default value of 2200.00 lux (200 foot candle) is appropriate for more stage rendering
However, for exterior architectural rendering a setting of 800 lux (75 foot candle) could be more appropriate...
Once the setting are done, press the OK button
At this moment the Renderfile will be created, you can see the progress on the status bar of the Show Designer.
A Renderfile contains all the information about the scene, from the fixtures info to the texture used, therefore the Renderfile could be sent to MSD user to be rendered...

Once the desired Renderfile are generated (example multiple camera view of the same scene), start the MSD Fast NetRender Client
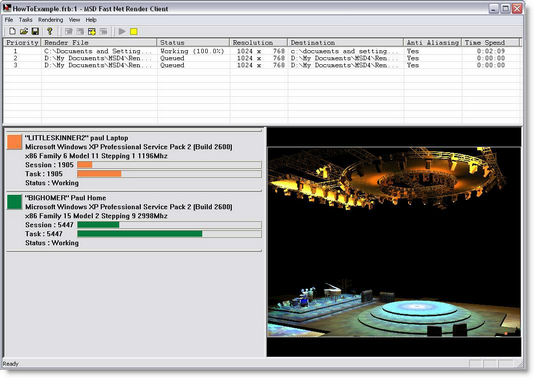
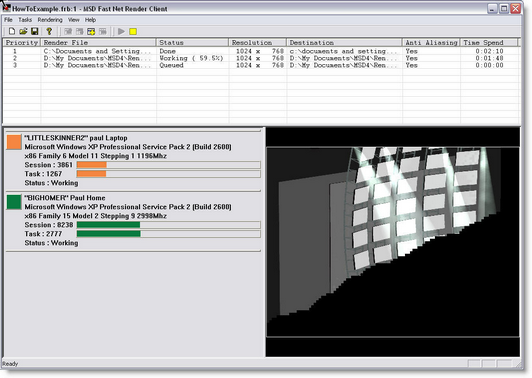
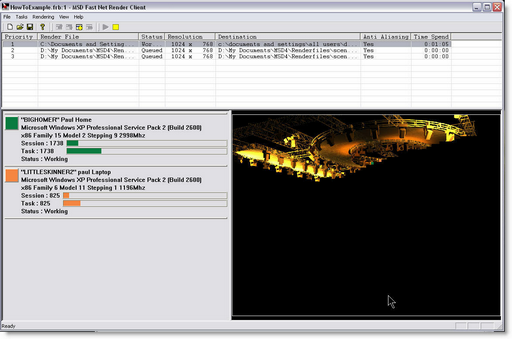
In that view you see the task list at the top, the running servers on the bottom left and the render output window on the right
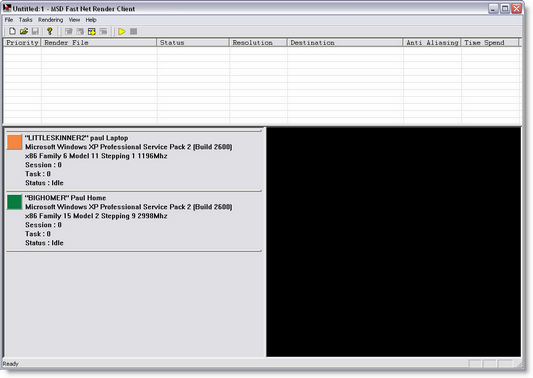
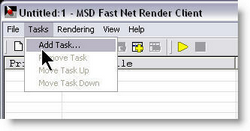
A task can be added From the Task menu or by pressing the [+] icon
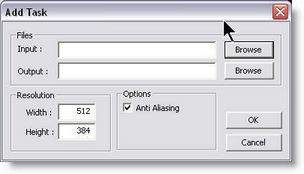
A window appear, press the Input File Browse button
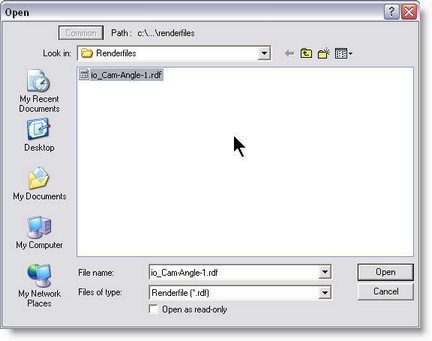
Select a render file
By default the Output name will be the same as the Renderfile
Set the resolution as desired... the larger the resolution the longer it takes...
(Example the rendering time of a 1600 X 1200 will be 4 times longer then a 800 X 600)
Enable or disable the Anti-Aliasing...
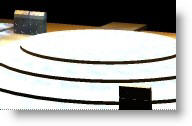
Anti-Aliasing smooth the edges of objects but also can require up to 50% time to render
Example: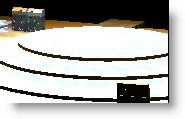
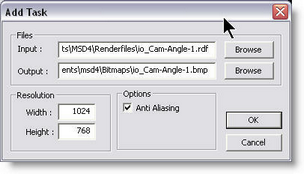
Add all the task to the list
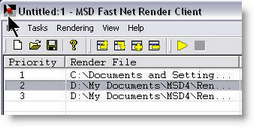
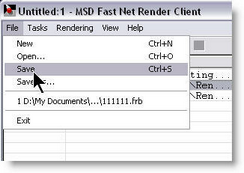
A list of tasks can be save to be reused or completed later
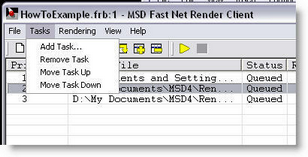
Tasks can be removed or change of order using the menu or toolbar icons
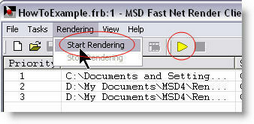
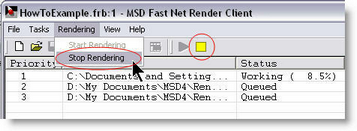
When ready, simply press Start Rendering to begin the task.
The progress and use of each server is displayed,
Small colored square representing each server show the portion of the rendering the server is doing at any time.
If for any reason a render batch should be stopped , it can be resumed at any time after.
Once a task rendering is done, the bitmaps is ready for viewing. the next task will start automatically until the list is finished.
