There are several ways to import a patch into the MSD 3D Visualizer.
Patch information can be read by :
| • | Reading an M-Series exported patch file. This can be started with the Operations | Read M-Series patch menu operation. This also works for the patch file created by the Obsidian ONYX consoles. |
| • | Reading the patch when using the Martin LightJockey connection. This can be started with the Show Control | Import Patch |
| • | Reading the patch when connected to a lighting console using CITP. This can be started by clicking the 'Read Patch' button in the CITP setup dialog. |
There are two other cases that resemble the importing of fixture patch information. The first is opening a .SDXml file. This file is created by the VectorWorks export plug-in. The other case is the Operation | Change patch operation.
All these operations will show a somewhat similar dialog. Depending on which operation opened the dialog some parts of the dialog will be visible or not.
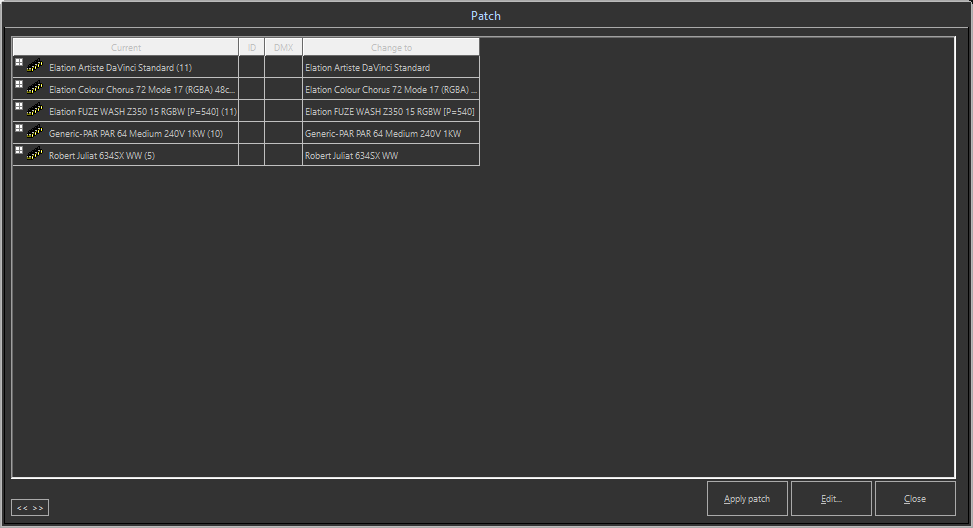
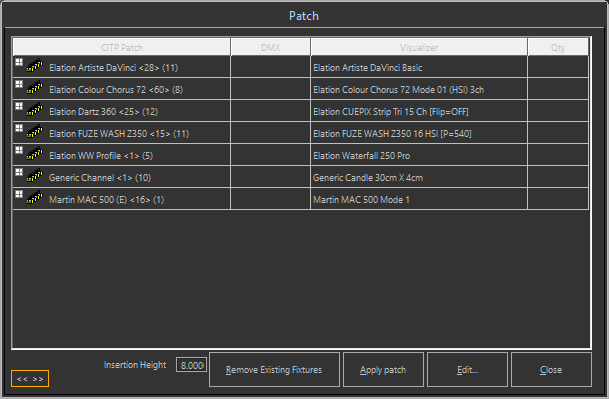
The dialog looks something like one of these :

Change Patch operation

CITP Patch Import
All the versions of the dialog have a table of fixtures. The columns that are visible can also change depending on how the patch is imported. The first column show the fixtures that are read from the import source, of the fixtures currently in the scene when the Change Patch operation is used. This column initially shows only the types of the fixtures, but each of the type rows can be expanded which will show the individual fixtures. Usually you want to define the MSD fixture type that should be used for each fixture type in the first column, so it seldom necessary to expand the rows.
Other column that can show up in the dialog are
| • | DMX : This shows the DMX address for the fixtures |
| • | ID : This shows the User IDs of the fixtures |
| • | Qty : This shows the number of fixtures that should be placed in the scene for one fixture in the import |
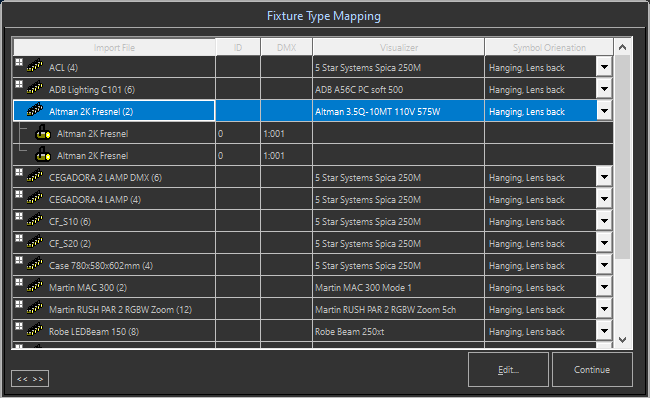
| • | Symbol Orientation : The column can be used to set the standard orientation of a symbol in VectorWorks. This will help orient fixtures in the scene correctly |
| • | Visualizer : This column shows the type of fixture that is going to be used in the scene. |
Below the table there are some buttons and other controls, that for the most part don't need further explanation.
The '<< >>' button can be used to resize all the columns of the table so they will fit in the with of the table.
The 'Insertion Height' is the height where new fixtures will be inserted into the scene.
What fixture type is used in the scene
When you click on the 'Edit...' button you can edit the fixture type used in the scene for a particular type in the import.
You can set the MSD fixture type on the collapsible/expandable rows, and that will become the default type for all the fixture with the same import type.
When you expand a type row, you can also override the default for individual fixtures.

Normally the 'Visualizer' column is not filled for individual fixtures, meaning that these fixtures will use the type defined in the type row.
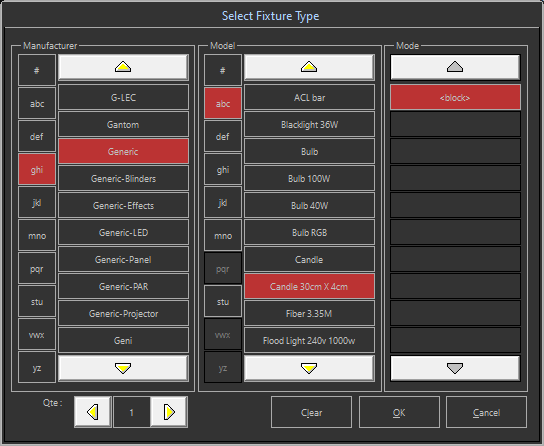
The type used within the scene is selected using the following dialog

This dialog shows all available fixture types, and you select the manufacturer, the model and the mode. In some modes you can also change the Qte.
This can be usefull if you want to skip a particular fixture (or type) by setting the Qte to 0, or insert mulple fixtures in the scene for a single fixture in the export data.