If you don't have a scene that you can use, you can also create one in the Visualizer.
After you start up the Visualizer, you will always begin with a empty scene. If you want to follow the steps from this chapter, you should make sure that you have an empty scene. You can do this by starting a new visualizer or by using 'New' from the 'File' menu.
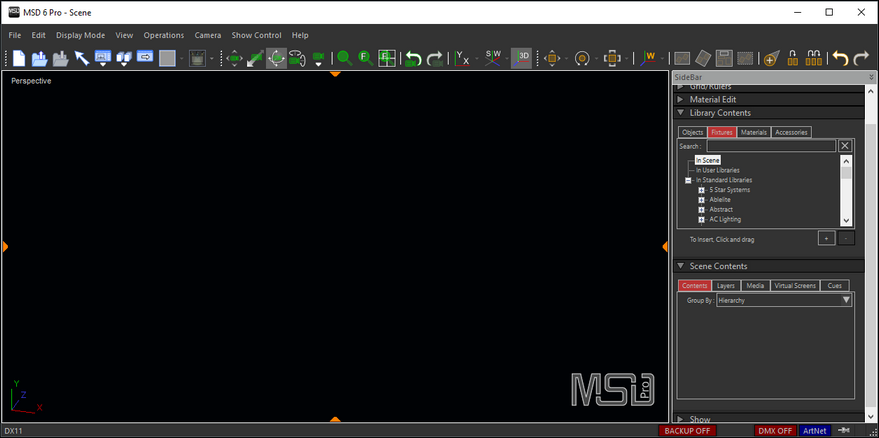
You should now have an empty scene area.
If you expand the 'Library Content' section in the sidebar, you will notice that the 'Objects', 'Fixtures' and 'Materials' lists have 3 sections: 'In Scene', 'In User Libraries' and 'In Standard Libraries'.
The 'In Scene' section contains the objects, fixtures and materials that are used in this scene file, and so are empty for now.
When you first start using MSD, you will not have any user libraries, so the 'In User Libraries' also be empty
The 'In Standard Libraries' section will show the objects, fixtures and materials that are available in the standard libraries.
The Visualizer window should now look something like this

Empty scene
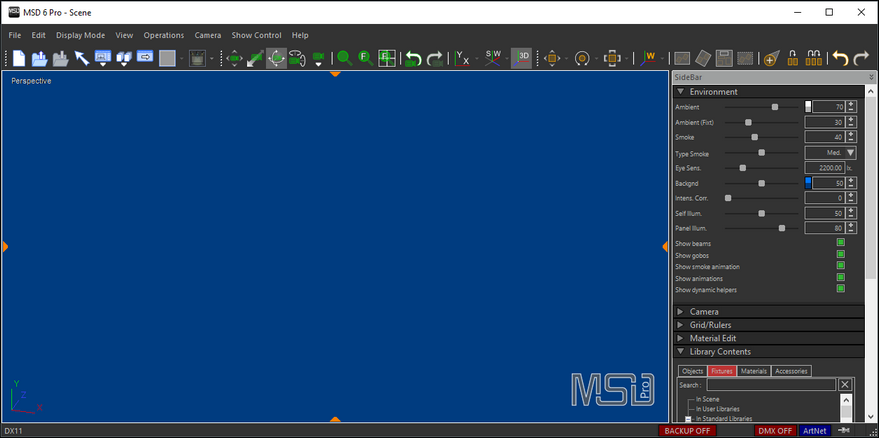
Before we start creating the scene, we are going to change the background color from black to a brighter color. The black color is good when you are visualizing a show, but when you editing a scene it is usually better to use a brighter color, so the fixtures and other dark objects are more visible. To change the background color, you should open the 'Environment' section on the sidebar and move the background slider to the center.

Brighter background
You can also click on the small color box to select a background color.