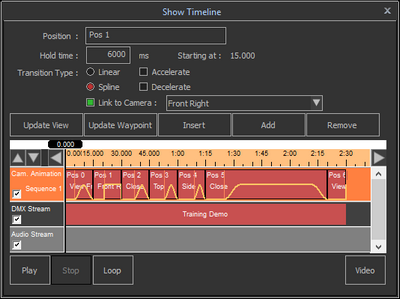
When you are ready to create a video of your show, you can select if you want to use the DMX Show and/or the Camera animation by checking the appropriate checkboxes in the Tracks. After that, just click the 'Video' button to start the video creation process.
A dialog will appear, where you can specify where you want to save the video, what resolution video you want to create with what frame rate, and how many keyframes you want to use.
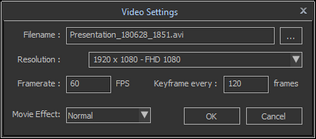
The filename will present you with a filename suggestion, which consist of the Scene filename, the date and the time, so you will get unique, easy to recognize list of videos, but you can enter any filename you choose.
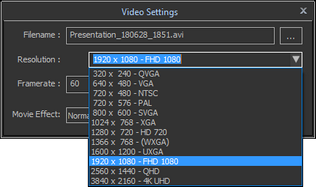
For the resolution of the video, you can choose from a list of well known formats.
Click on 'OK' to continue, which will present you with a dialog where you can select which video codec you want to use, and some controls to configure the codec. It will look something like this:
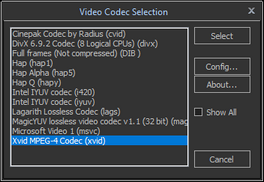
Exactly which codecs you get depends on which video codecs are available on your computer. Usually there are a number of default codecs available, but you may need to install a suitable codec for your needs, for example:
XVid
This is a Codec developed as an Open Source project and works nice as well. You can find more information on their website: https://www.xvid.com/, and download the Codec in the download area: https://www.xvid.com/download/
Lagarith
This is a lossless Codec, so it can still produce fairly large files (but not as large as uncompressed).
If you intend to process the Video using other tools, it may be a good idea to use this Codec to get a very high quality video to start with. You can find the Codec on their website: https://lags.leetcode.net/codec.html
After selecting and configuring the codec, you can press OK to start the actual creation of your video.
(The settings you have entered in the previous dialogs will be saved and presented automatically the next time you create a video.)
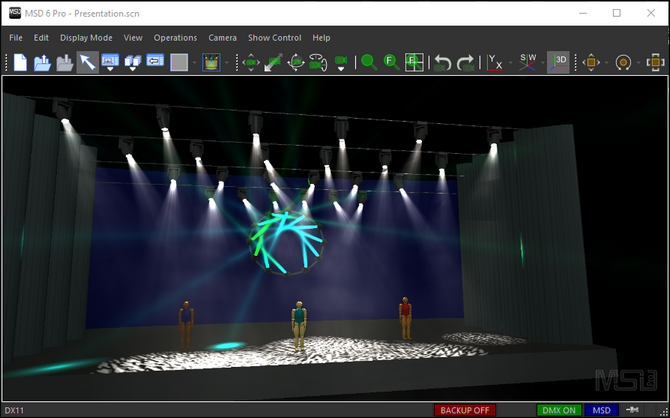
While the video is created, you can see a preview of the frames in your scene view. (It may look distorted, because the video resolution and aspect ratio is different from the scene view.)
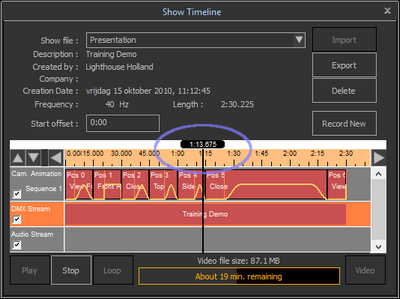
In the Show time line the time cursor will indicate the progress of the video creation,
and in the status bar you can see the file size of the video so far and an estimate on how long it will take to finish the video.
You can always stop the process using the 'Stop' button.
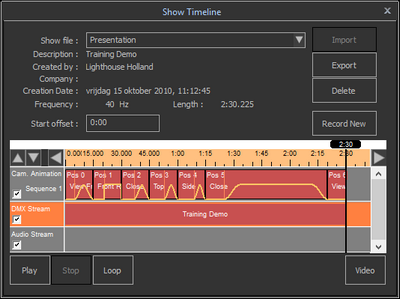
The video is ready when it reaches the end of the Camera Animation and/or DMX Show, whichever ends last. You can see when it is ready from the status of the buttons when 'Stop' is disabled, and the 'Play' button is available again).